Table of Contents
Setting up project charters
This article is part of the Administrator manual and applies only to users with access to Plant Preferences. What is the Project Charter? The Project Charter is a core part of project documentation a…

Updated
by eKaizen Support
This article is part of the Administrator manual and applies only to users with access to Plant Preferences.
What is the Project Charter?
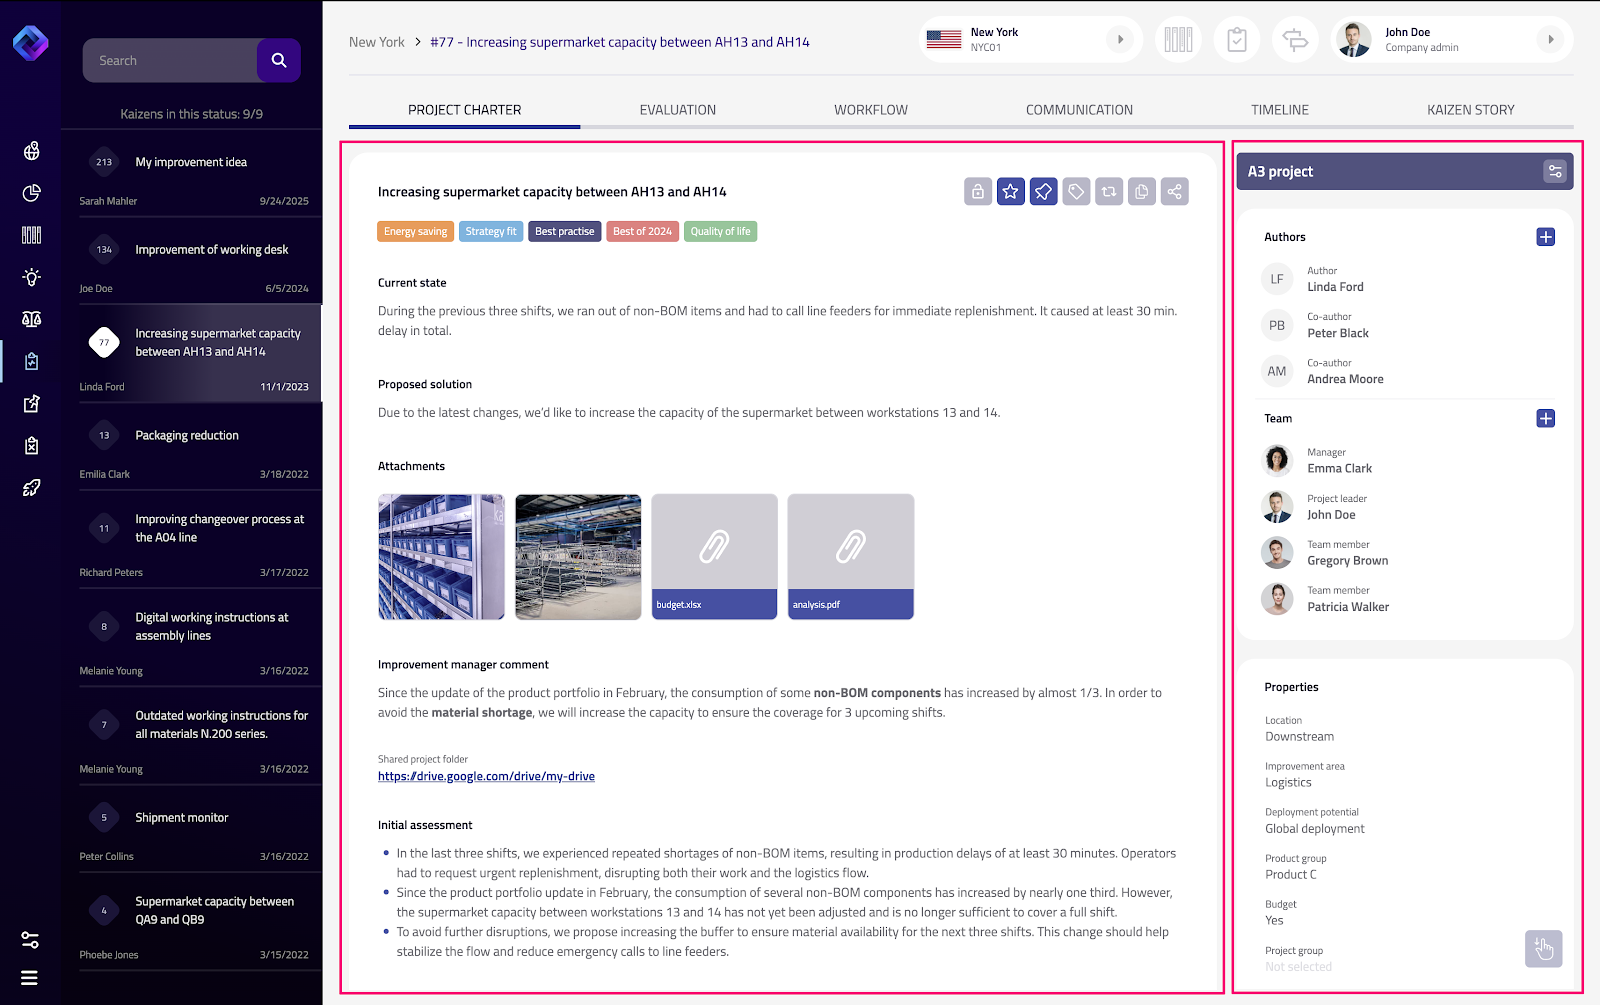
The Project Charter is a core part of project documentation and control in eKaizen. Together with Project Types and Submission forms, it provides a structured place to store, show, and update all key information about an improvement project.
Configuration works similarly to Submission forms: use a drag-and-drop interface to arrange rows and fields.
Before configuring a Project Charter, make sure the relevant Project Type is correctly set up. The charter uses fields and settings defined there.
Navigation
Plant Preferences → Screens & forms → Project Charter
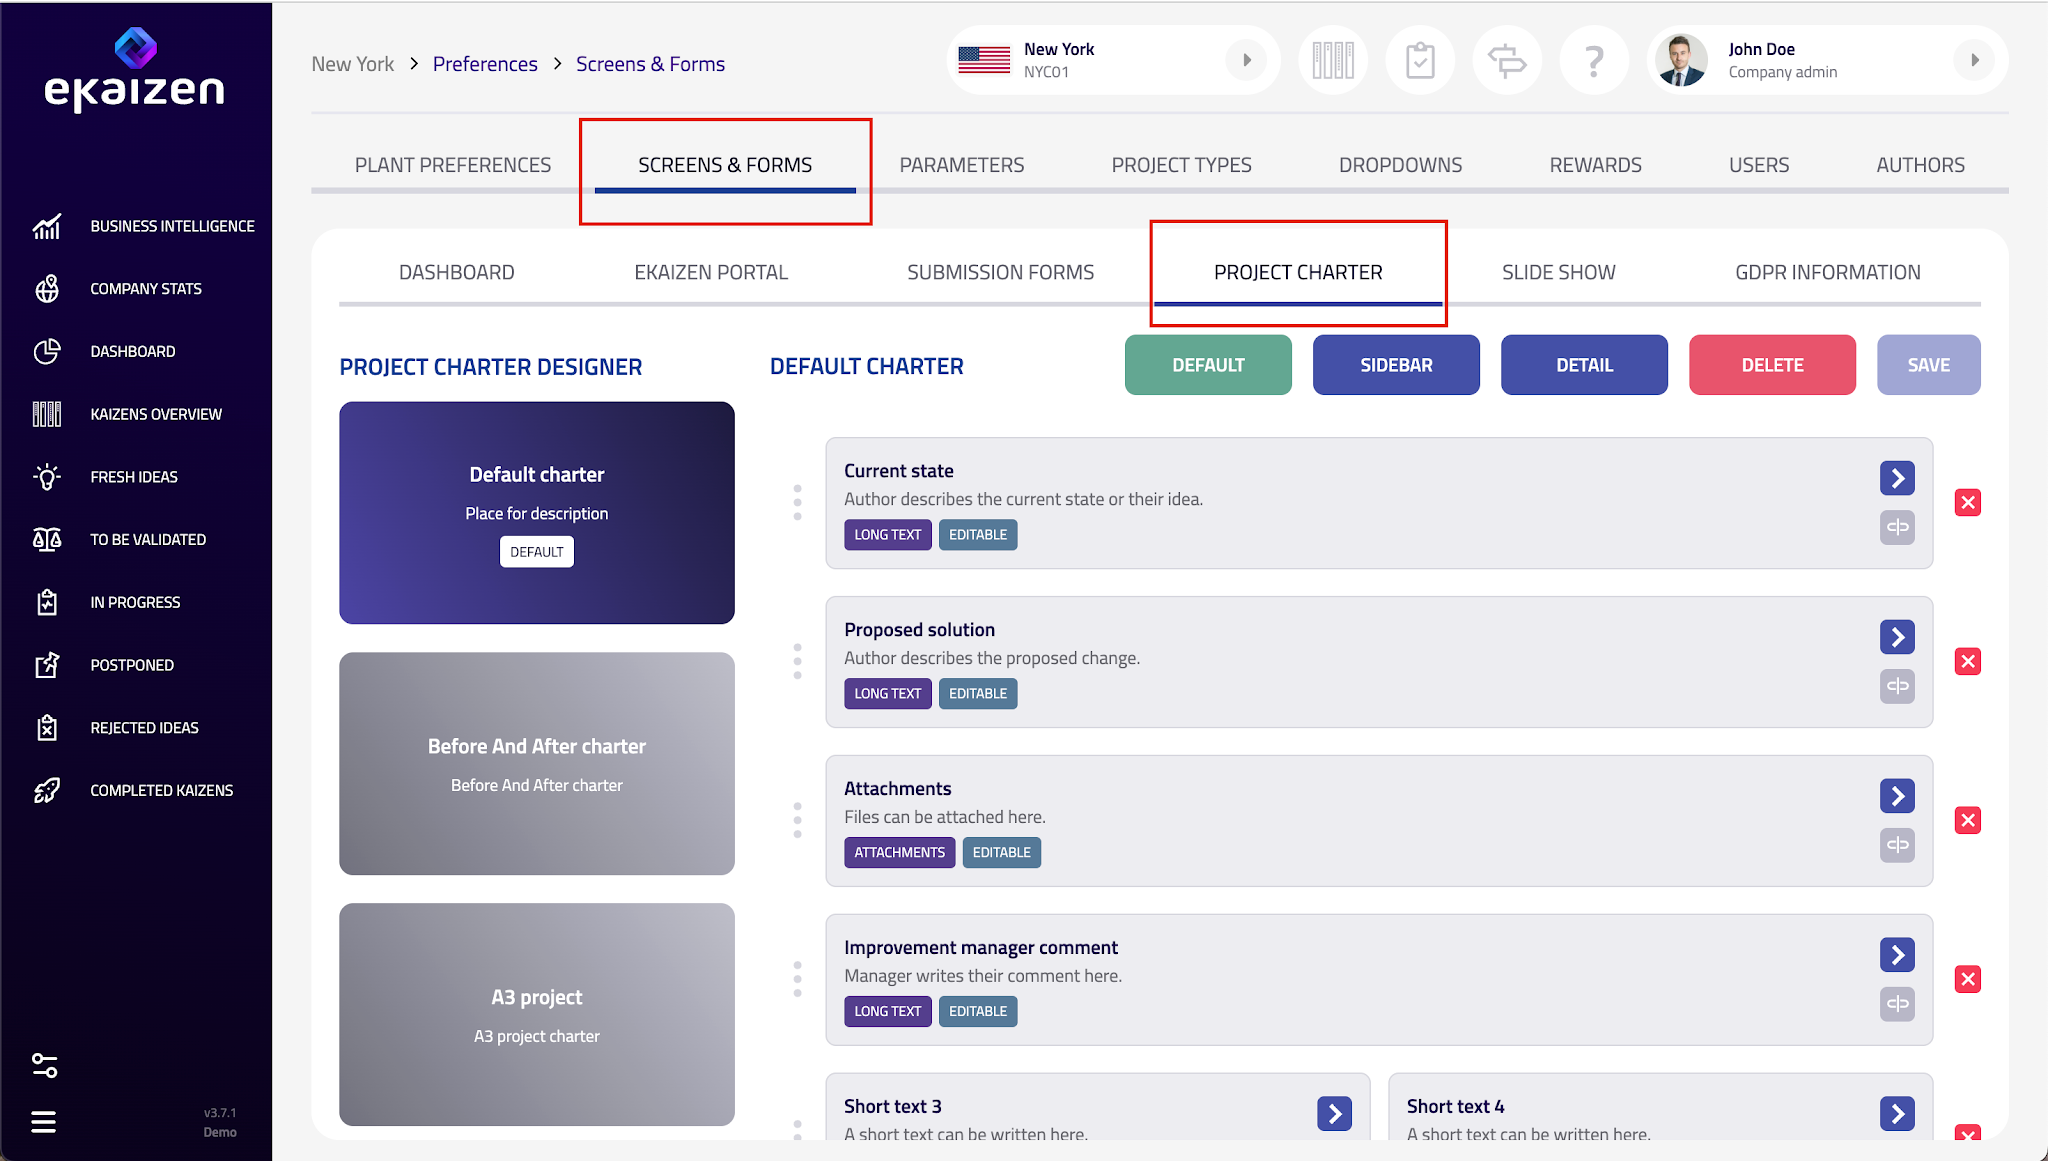
Create or edit a charter
- Edit the default charter, or click + in the left panel to create a new one.
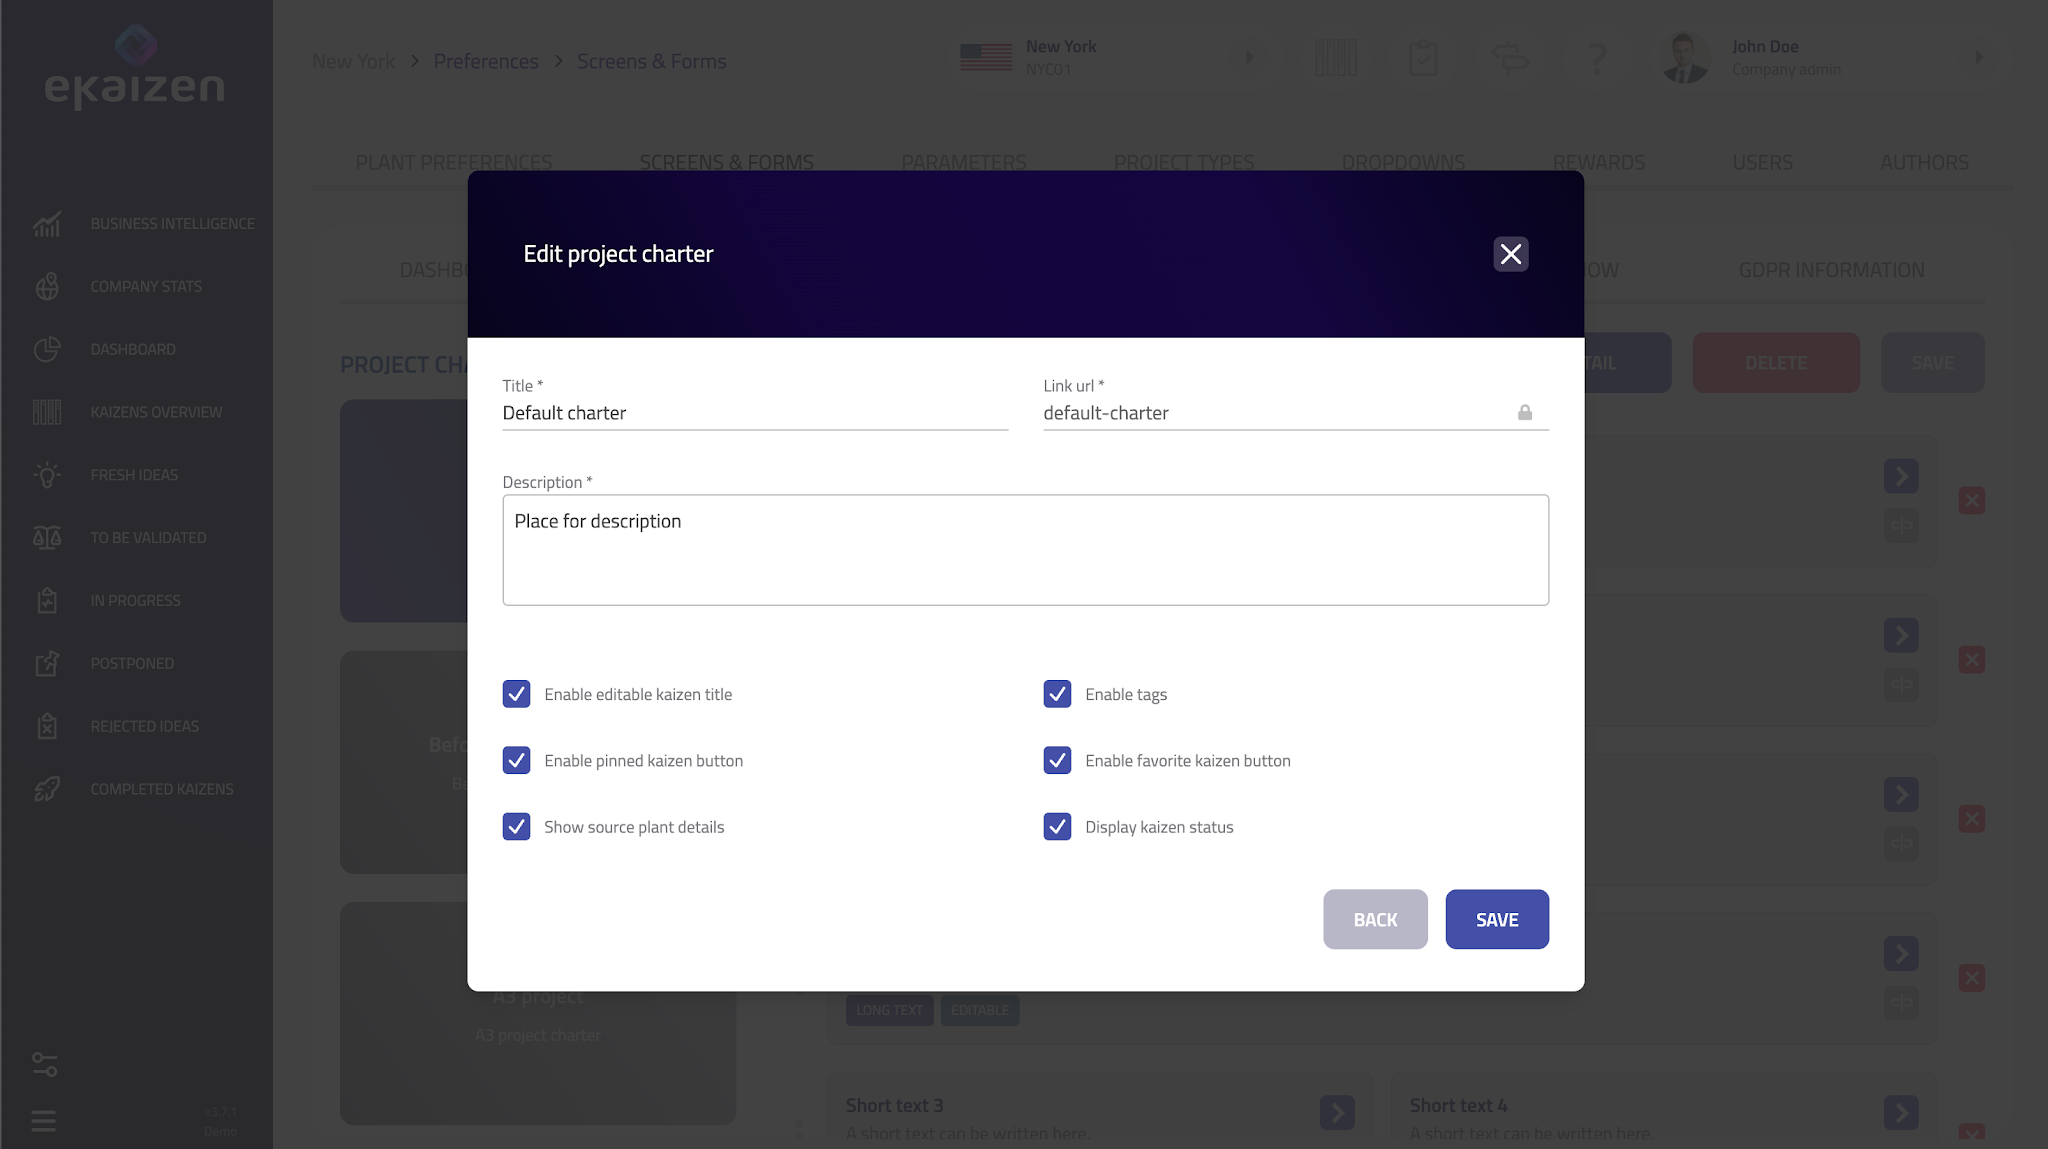
Basic settings
Click Details (top-right) and set:
- Charter name – a clear, unique name (ideally the same as the related Project Type).
- Description – a short explanation of the charter’s purpose.
- Additional options – allow pinning, favorites and tagging.
Layout
- Click + to add rows; drag rows to change their order.
- Each row can be split into 1 or 2 columns depending on space needs.
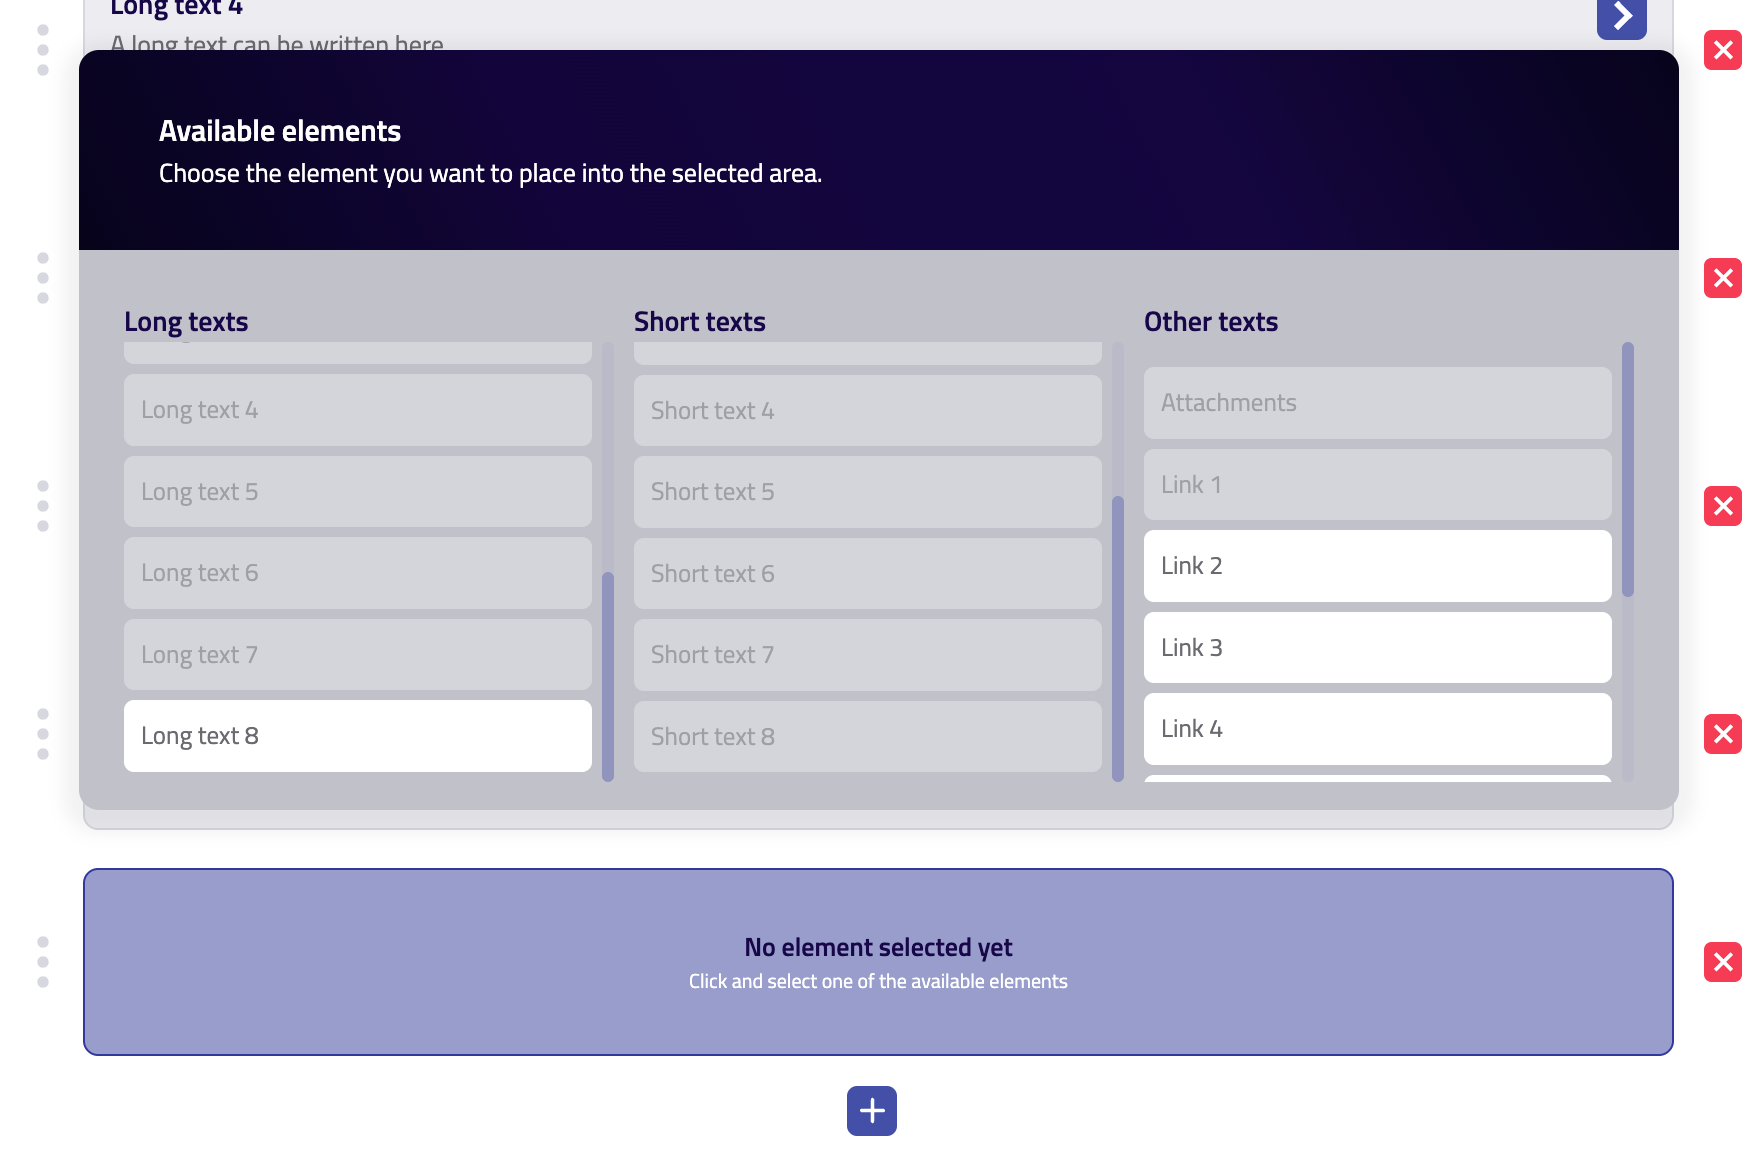
- Available fields include:
- Current state and Proposed solution (from the author).
- Attachments (documents, images).
- Custom fields from the Project Type (text, dropdowns, links, other inputs).
For each field, decide whether it’s editable or read-only (e.g., keep original author inputs fixed). Use the unlink icon to remove or replace a field.
Need a new field? Save your draft charter first, add the field in Project Type settings, then return here and place it in the layout. Make sure the field is marked as ACTIVE in the Project Type setting.
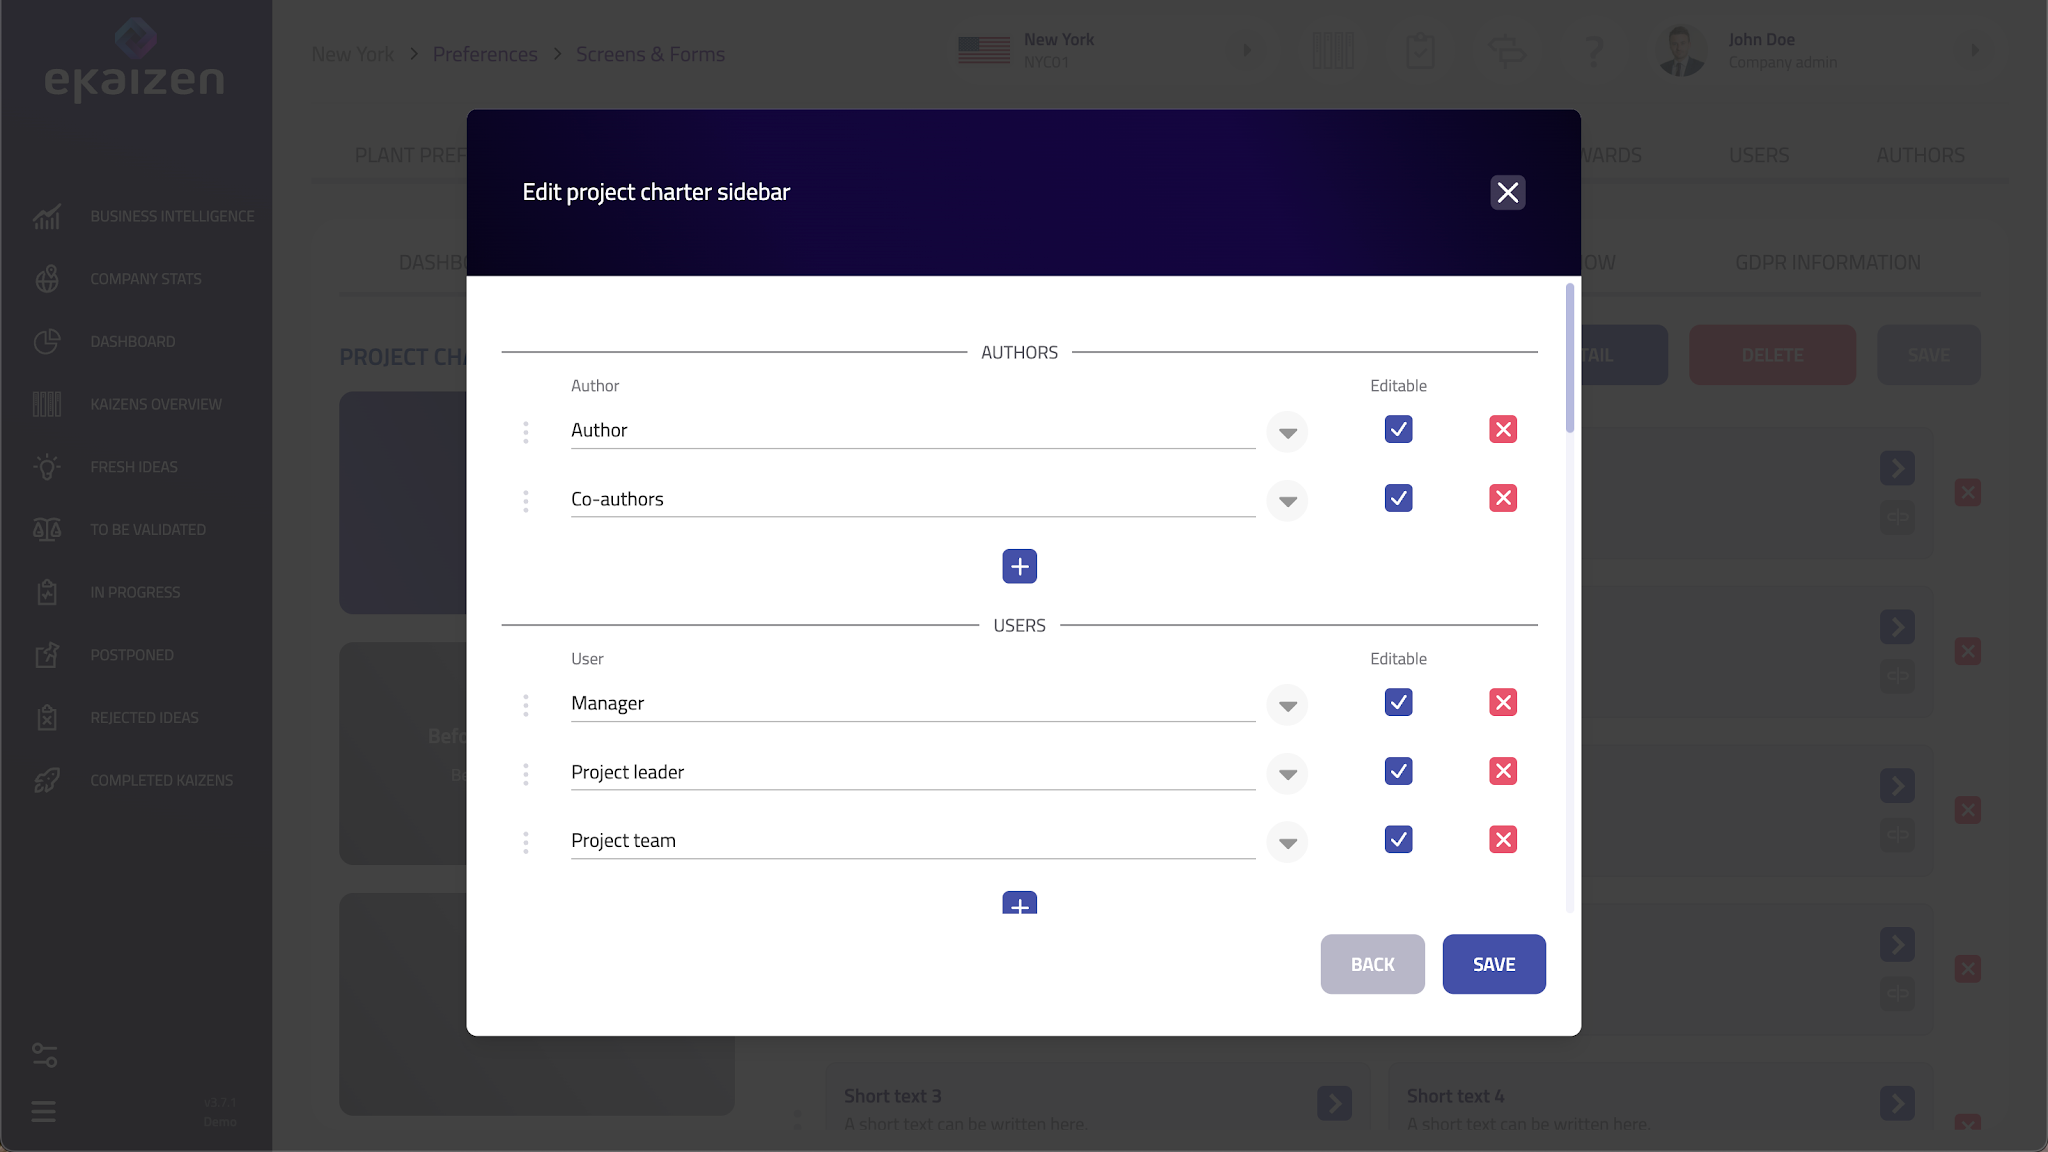
Sidebar
Choose which selector blocks appear in the right sidebar:
- Author & co-authors
- Team (roles such as manager, project lead, team members)
- Date fields (key project dates)
- Custom dropdowns (defined in the Project Type)
Save and assign
- Save the charter when finished.
- You can mark it as Default – used if no specific charter is tied to a type.
- Link the charter to its Project Type in Project Type settings to ensure consistent use.
Link each Project Type to the correct Project Charter in the type’s settings. Without this, the wrong (or default) charter may appear.
Next steps
- Verify that every Project Type has the correct charter assigned.
- Test with a real project to ensure fields and layout work as intended.
- Gather feedback and refine the charter as needed.
Make the most of the Project Charter
- Tailor to improvement type – e.g., emphasize Current/Proposed state for process changes; Risks & Actions for safety; Standardization & Error-proofing for quality.
- Tell the project story – from problem statement to solution and results.
- Prefer attachments (photos, process maps) over long free text to keep it readable.
- Use link fields to connect intranet/SharePoint or other internal docs.
- Keep it simple – fewer, essential fields increase the chance of regular updates.
Didn’t find what you were looking for? Reach out to your administrator, your eKaizen contact person or write to contact@ekaizen.app.
How did we do?
Configuring parameters in Plant preferences
Setting up scoring